How to install and effectively utilize the Project Vic hashset to locate Child Abuse Material (CAM)
Project VIC International is a non-profit organization who works with a global network of law enforcement agencies and technology partners, through the administration of a hash set database of files depicting child sexual abuse material (CSAM). View further information on Project VIC and OSForensics compatilibilty.
Agencies with access to the set can import the set into OSForensics to quickly and effectively locate known CSAM material in an investigation. The following is a step-by-step guide on how to import and utilize the set within OSForensics.
Part 1: Importing the Project Vic Hashset into OSForensics
1. Launch OSForensics
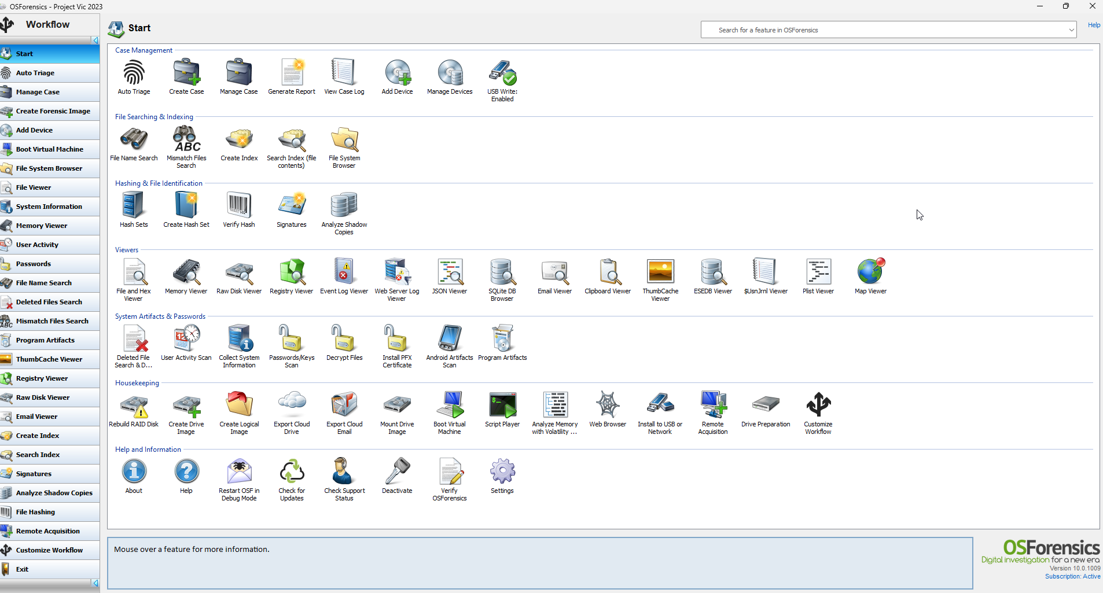
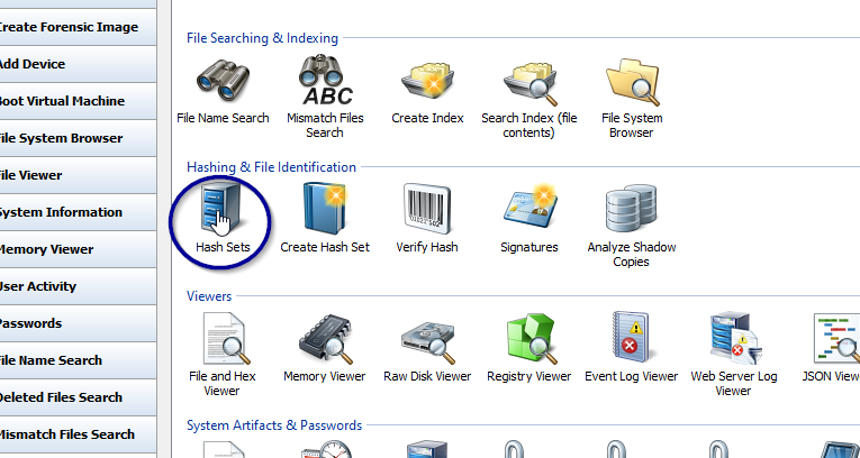
2. Click on “Hash Sets” from the Start menu
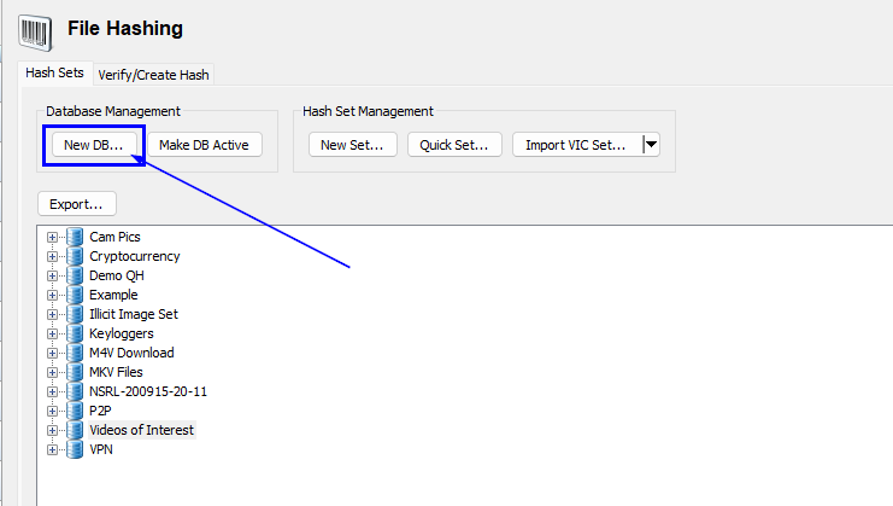
3. Click “New DB” under Database Management
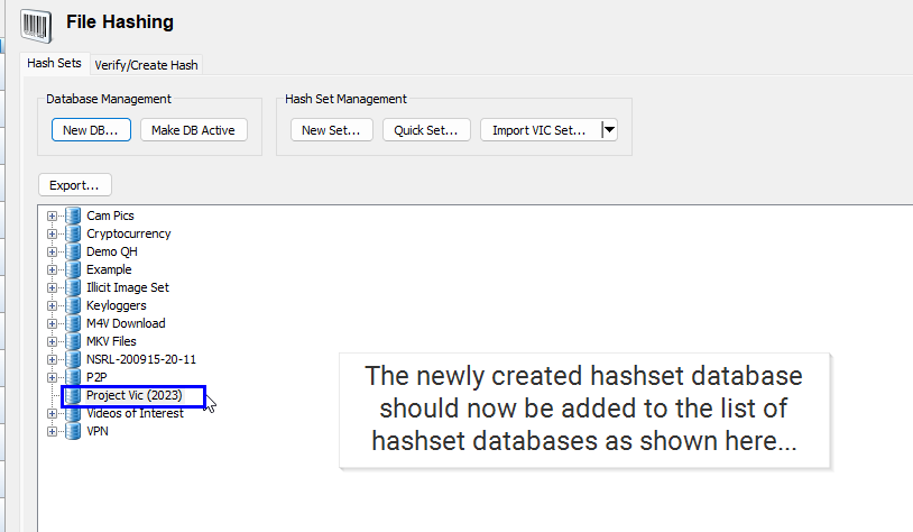
4. Name and save the new hashset

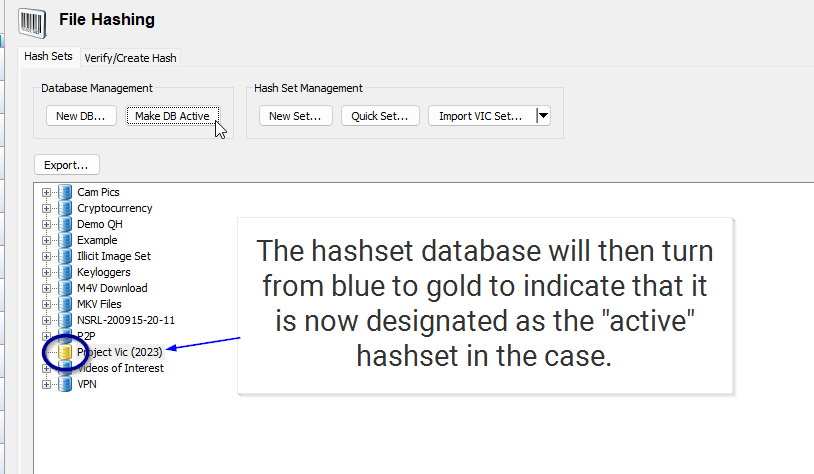
5. Set the new hashset as “Active”

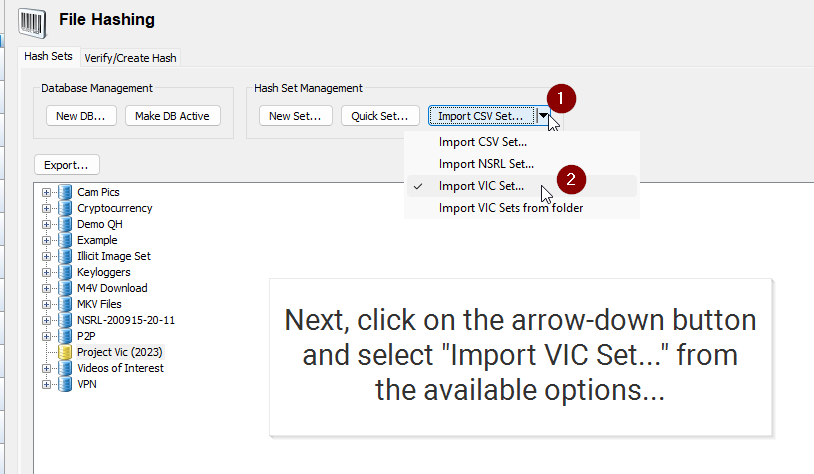
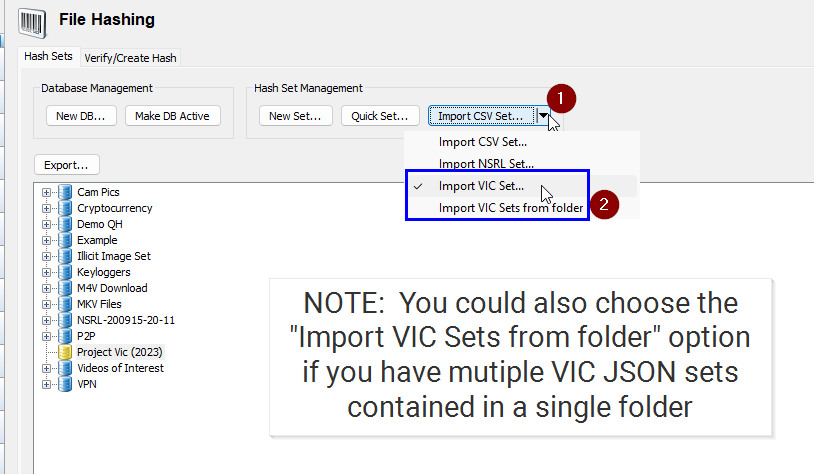
6. Choose “Import VIC Set” from drop-down menu
7. Click the button to start the import process

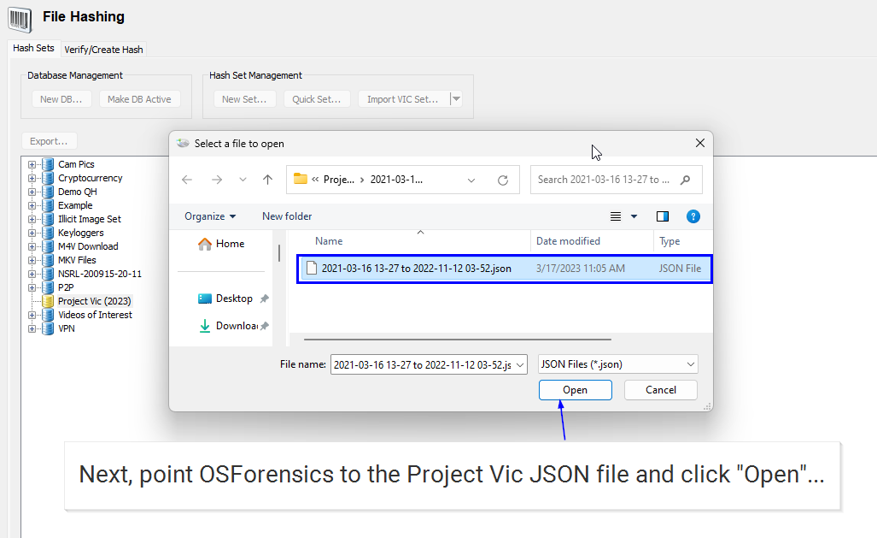
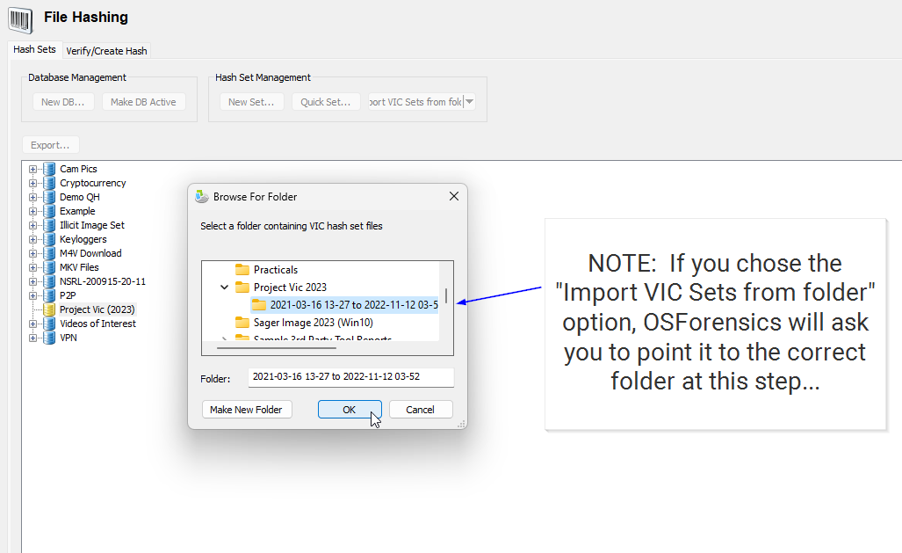
8. Choose the Vic hashset file and click “Open”
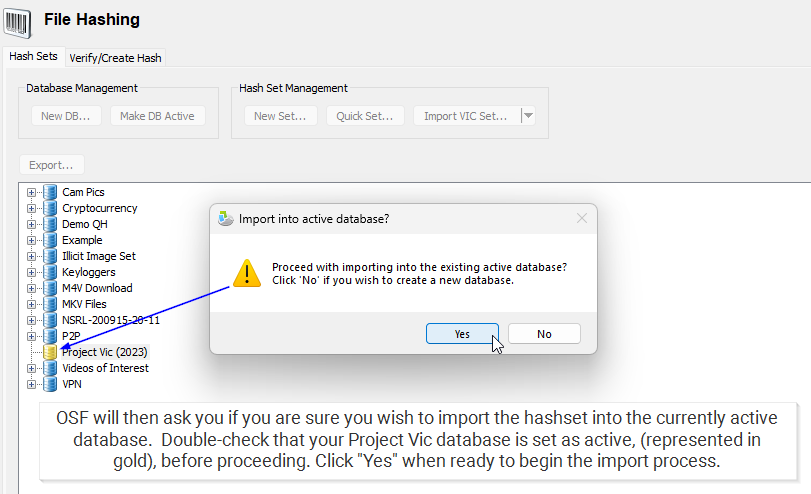
9. Verify the database and click “Yes” to proceed
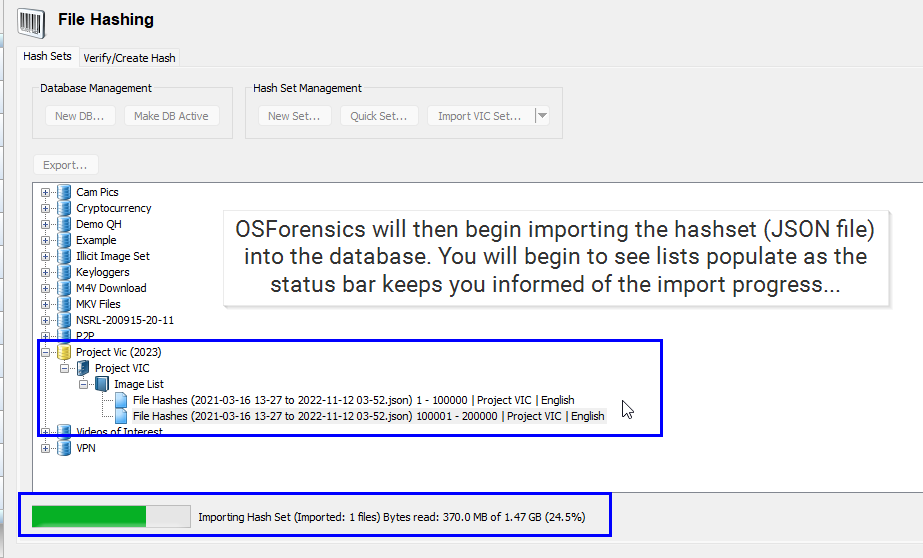
10. OSForensics will then import the hashset
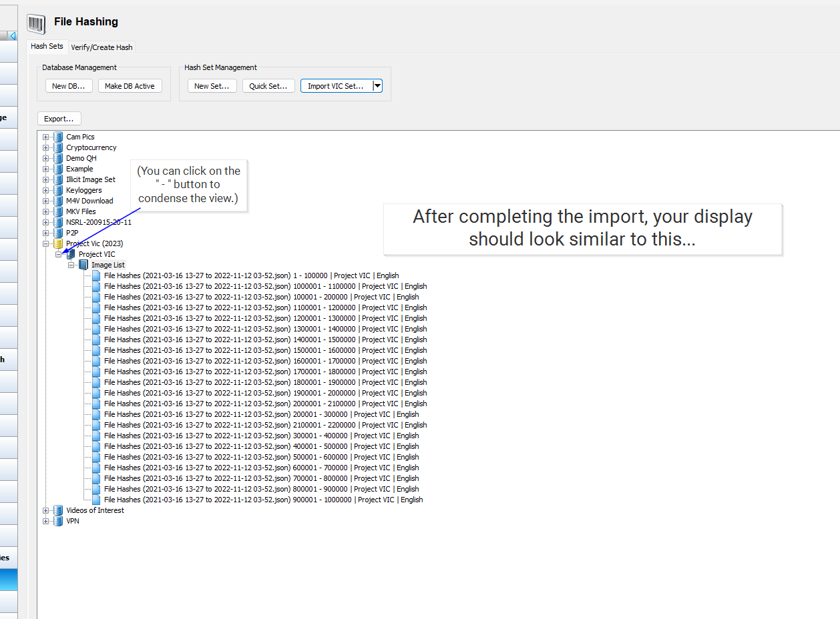
11. The hashset is now ready when the import completes
Part 2: Using the Project Vic Hashset with OSForensics
This following guide is not an exhaustive list of ways an investigator can use the Project Vic hashsets from within the OSForensics application. This guide is designed to provide the new user of OSForensics with a few detailed instructions on some of the more straightforward methods to using hashset analysis in OSForensics with the Project Vic hashset.
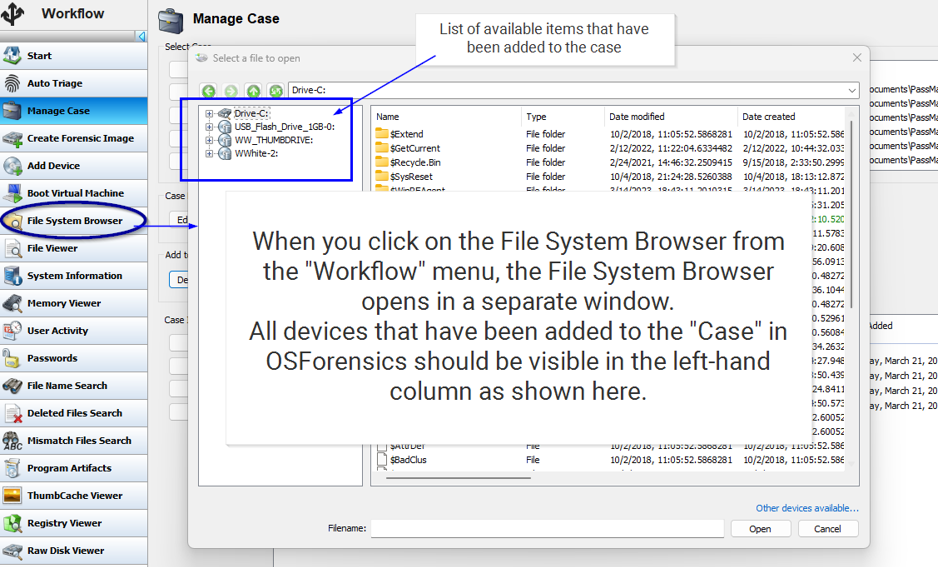
Let’s look at using the File System Browser first:
1. Click on “File System Browser”
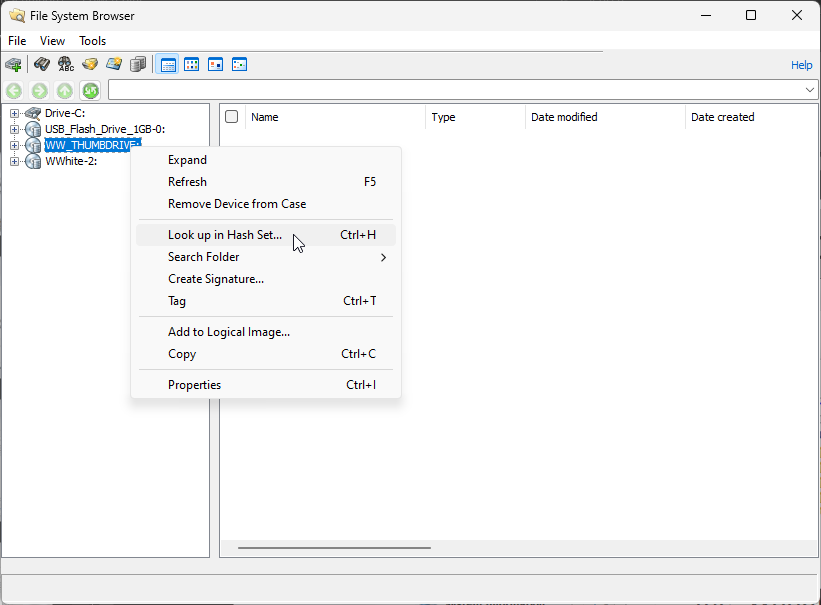
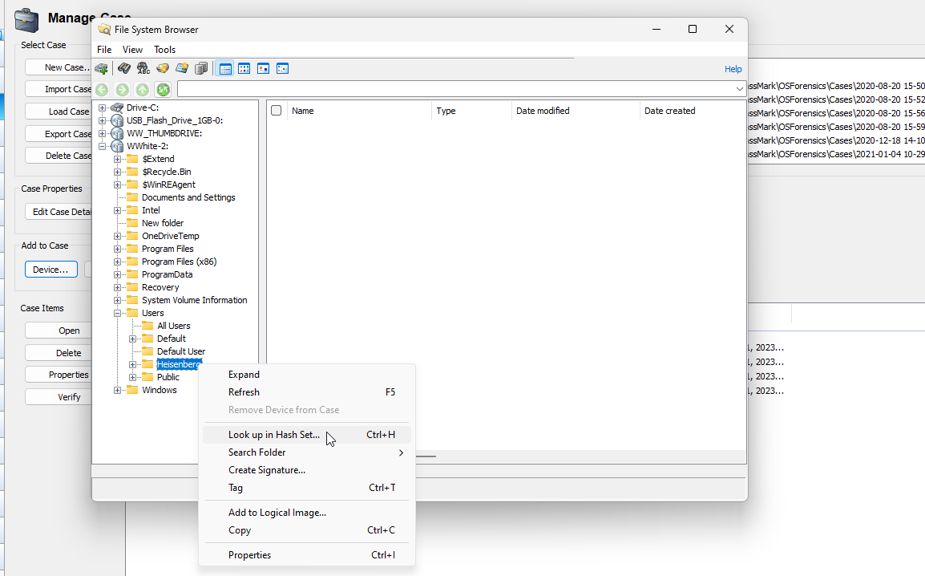
2. Or select an available directory to hash
3. Hashing & hash analysis operations begin
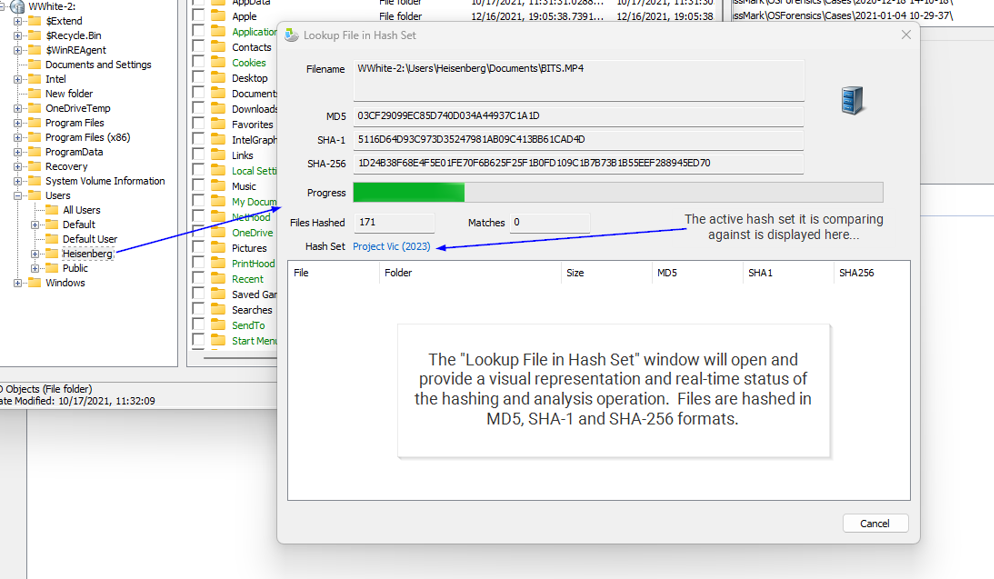
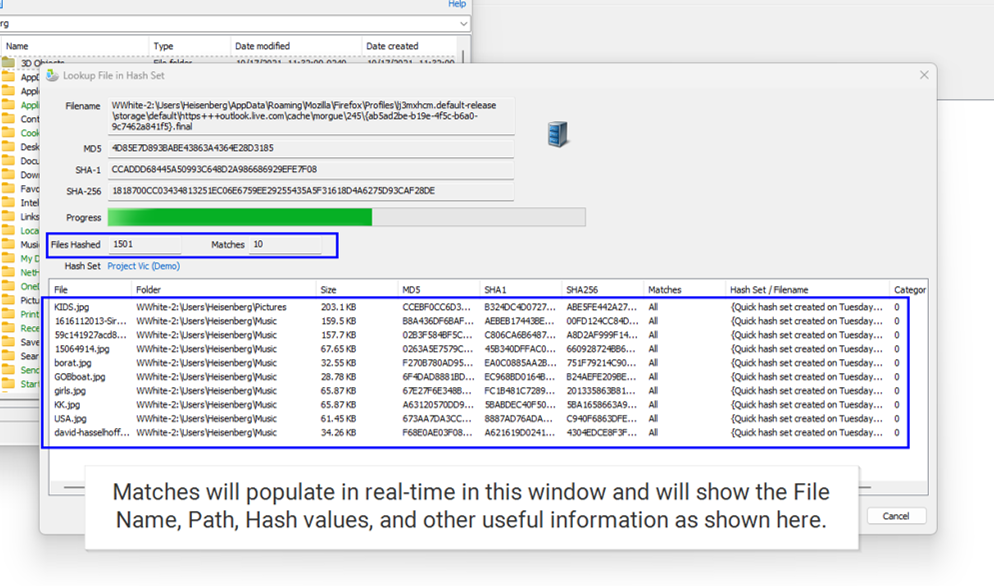
4. Hashing & hash analysis operation completes
Now let’s use the File Name Search module to perform the same task:
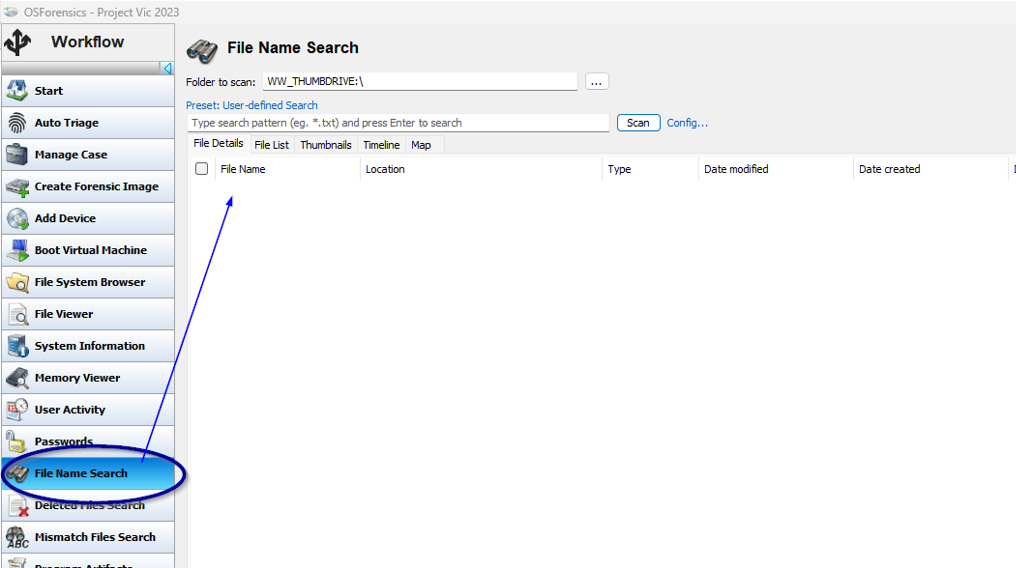
1. Click on “File Name Search” from the Workflow
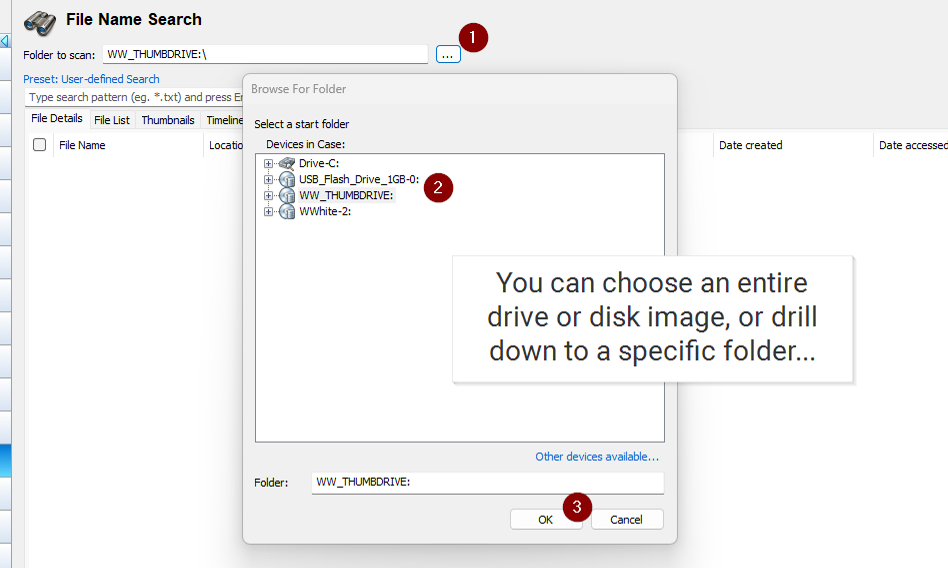
2. Select a device/folder to scan
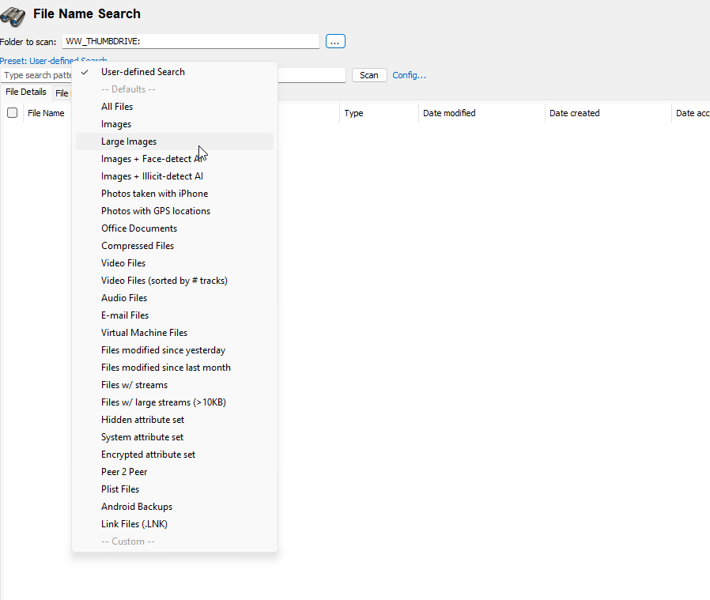
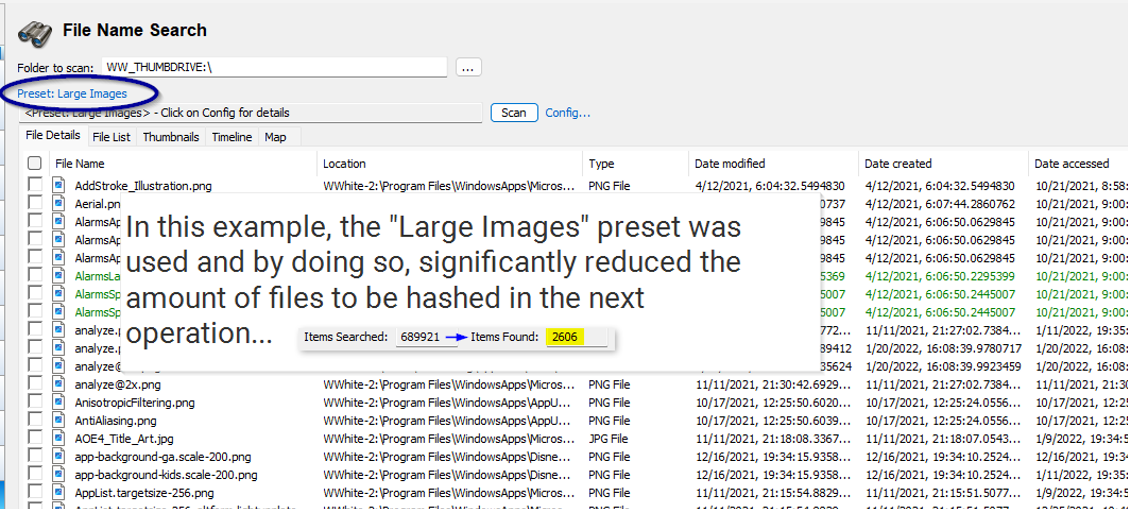
3. Choose a preset search setting
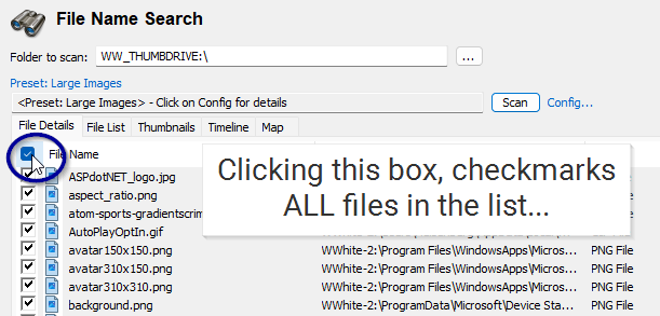
4. Select the “Check All” box shown below
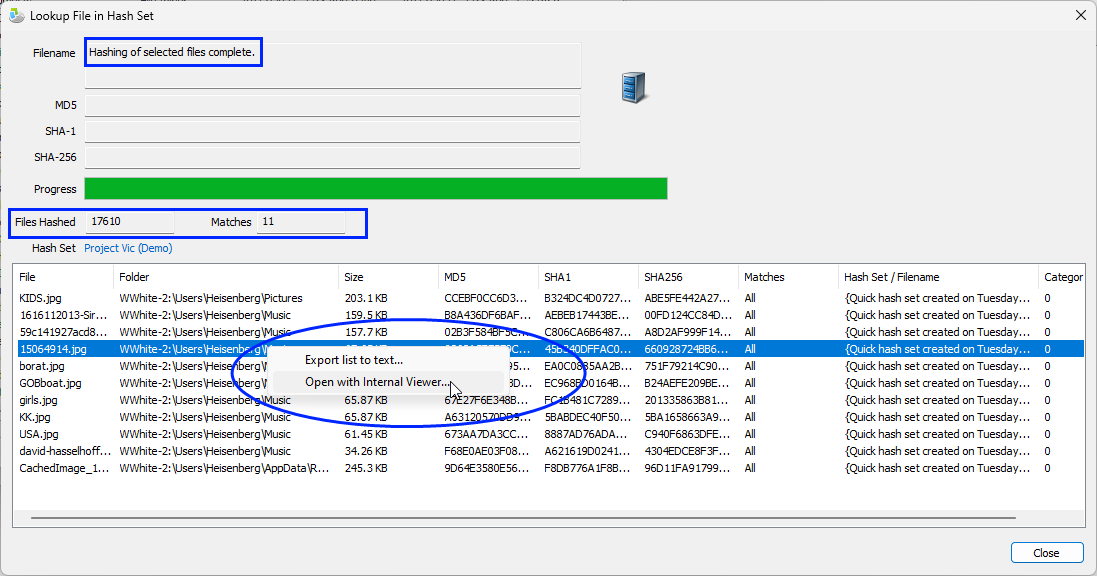
5. Choose the following right-click menu options

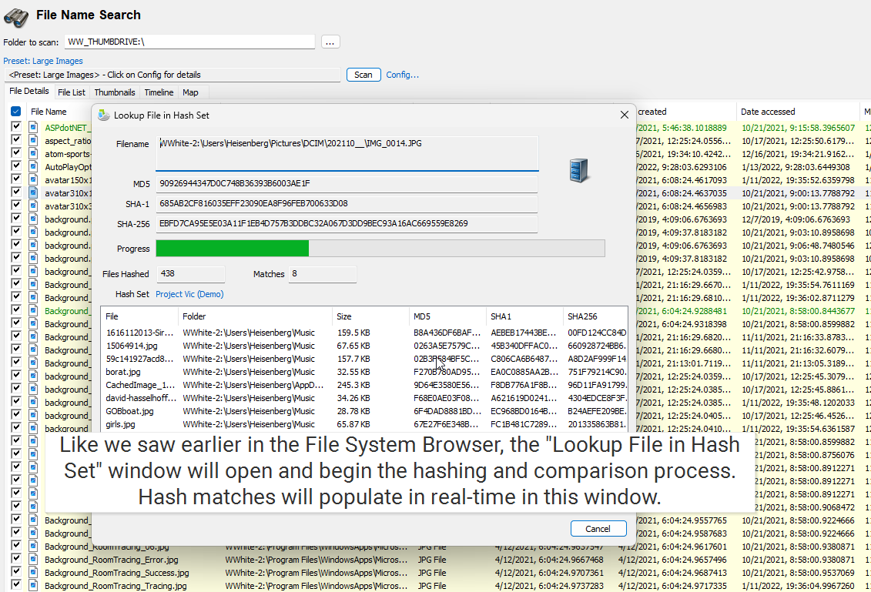
6. Hashing & hash analysis operation completes


