Create an image of a network location
Creating a true bit-for-bit physical image of a remote network drive is not possible, however it is possible to create a Logical image using the Create Forensic Image module in OSForensics. If you are tyring to image a mapped network drives and you cannot see it in OSF please refer to this page.
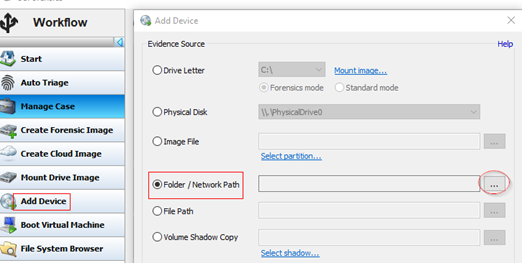
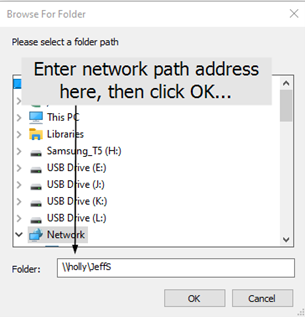
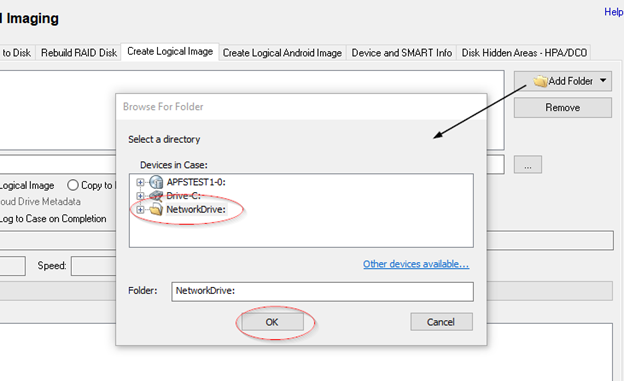
First, you need to add the network location to your case in OSF. Click on ‘Add Device’ from the OSF Workflow. Then, choose the Folder/Network Path option. As shown below, you will need to input the network path in the ‘Folder’ box and click OK....
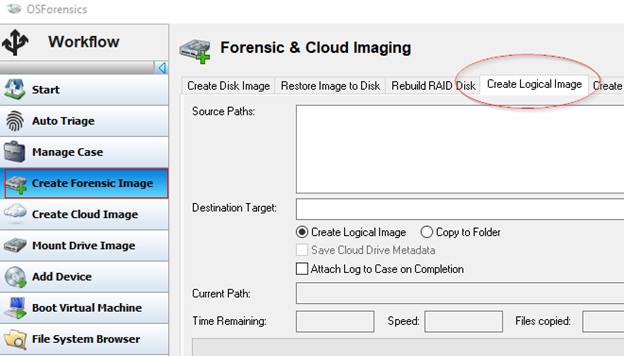
Once the network location has been added to your case, you will then go to the Create Forensic Image module within OSForensics. Once here, you will click on the Create Logical Image tab...
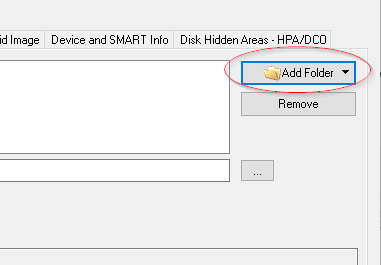
Next, we need to add the Network location to the Source Path section. To do this, click the ‘Add Folder’ button as shown here…
You will then be presented with all devices which have been added to your case. Select the Network location you previously added and click OK…
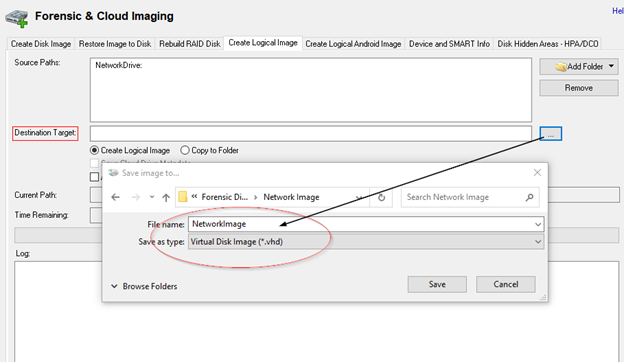
The network path should now be visible in the Source Paths section. Next, simply provide a destination target and file name. OSF will create a logical image of the network storage device in the non-proprietary .VHD or ‘Virtual Hard Disk’ format…
After clicking the ‘Start’ button, OSF will begin the logical imaging process and provide you with a real-time status log of the operation as shown below. Once the image is complete, the image file can then be added to OSF for analysis…


