How to Obtain Data from Android Device
Starting with OSForensics V6.1, OSForensics includes support for creating a logical device image and the extraction of text messages, call logs and contact details from an Android device.
With the V11 release, a major upgrade to the Android Aritfacts module was introduced.
Creating a logical Android image allows the investigator to copy files/directories from an Android device to a destination folder or logical image file (.vhd), preserving as much file system metadata (e.g. date/times, attributes) as possible. This is useful for cases where obtaining a complete drive image of the evidence device is not possible (e.g. device not rooted).
For a video tutorial on How to Obtain Data from Android Device with OSForensics, please see the below video.
| How to Obtain Data from Android Device with OSForensics. Download (Right-click to download, MP4 format, 53MB) |
Acquiring Android Data
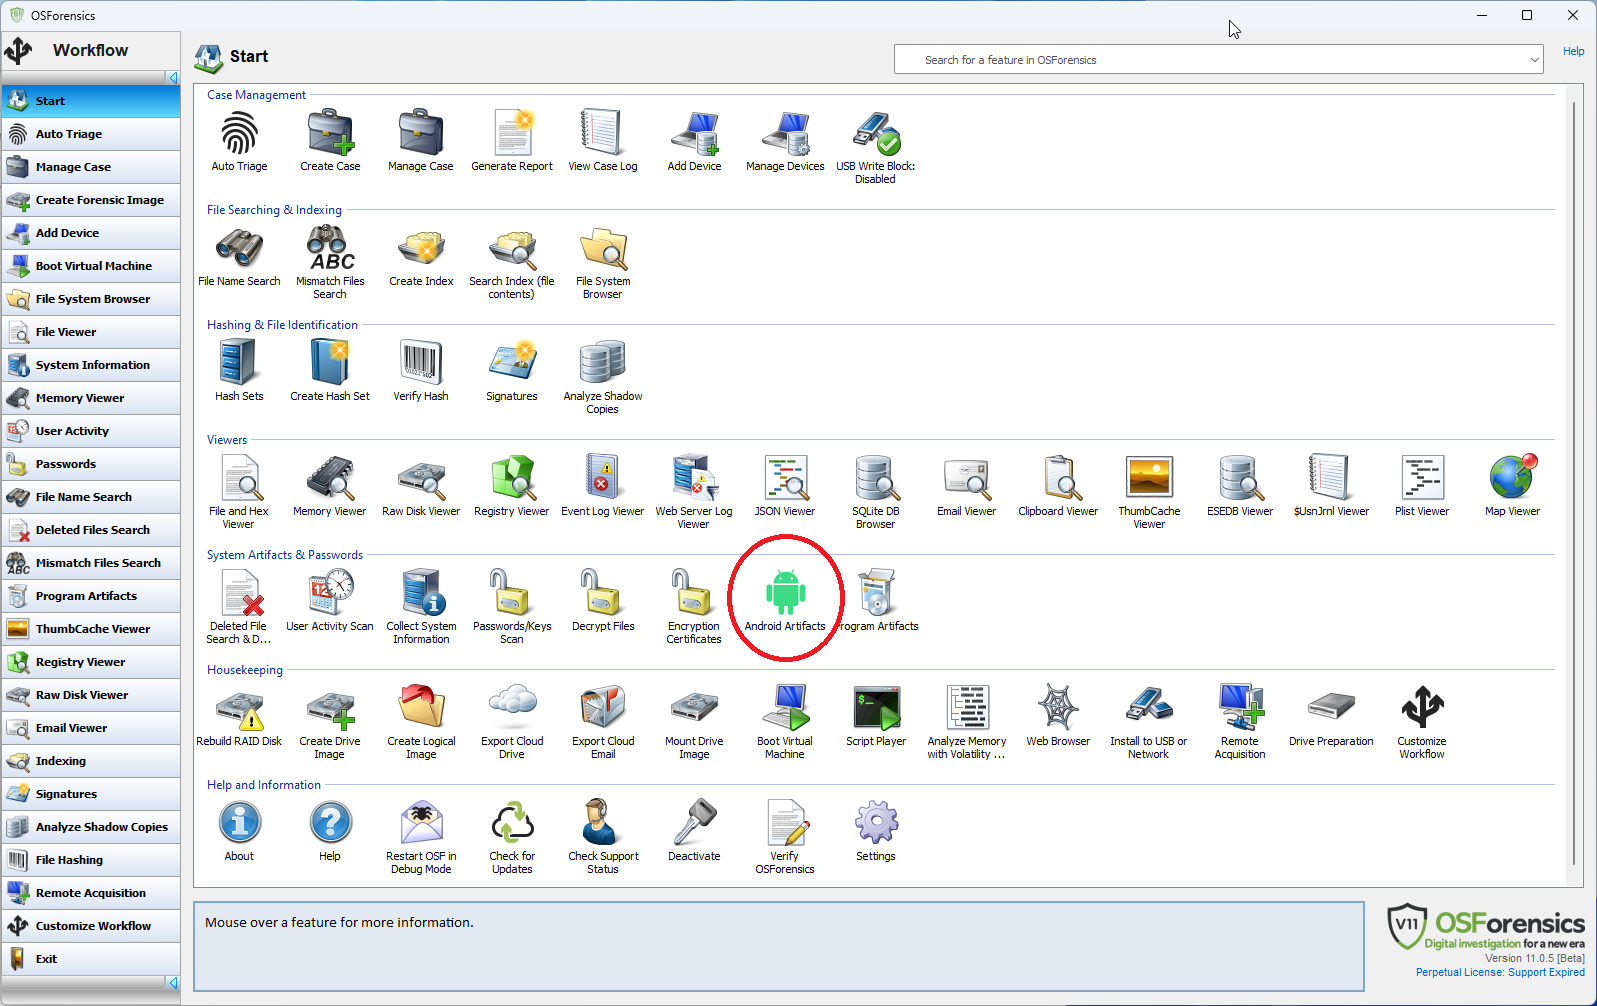
The Android Artifacts module is reachable via the "Android Artifacts" icon on the start screen.
The Android investigation process consists of two stages:
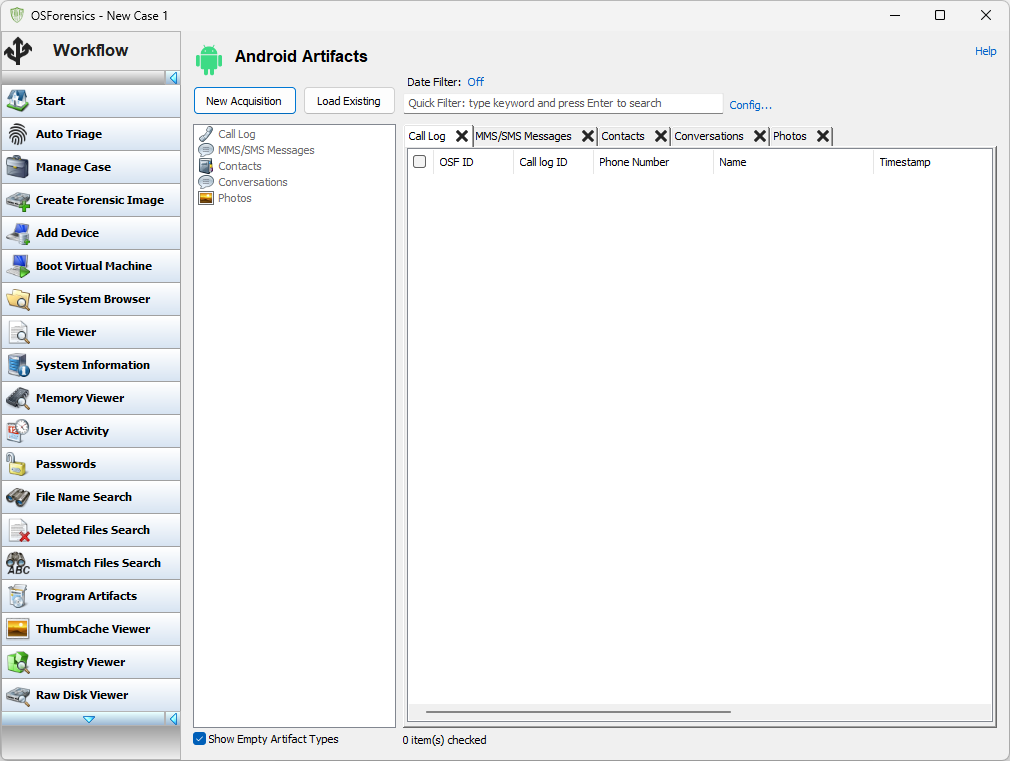
- Acquiring the Android data which the user can initiate using the "New Acquisition" button which starts the "Android Acquisition Wizard".
- Analyzing the Android data which the user can initiate by either;
- Continuing in the wizard after the acquisition.
- Using the "Load Existing" button.
The acquisition stage works by:
- Allowing the user to choose a phone.
- Connecting to that phone and uploading OSFExtract, the PassMark app that queries the phone for data and transmits it back to OSForensics.
- Receiving all the data that OSFExtract sends back and saving it in a file called OSFExtract.xml which is created in either the VHD the user specifies on a directory specified by the user.
Once the user has started the "Android Acquisition Wizard" the first stage of the wizard allows the user to:
- Choose whether they want to extract Call Logs, Contacts, SMS/MMS message using the OSFExtract app.
- Choose whether they want to copy what files are accessible via the Android Debug Bridge (ADB).
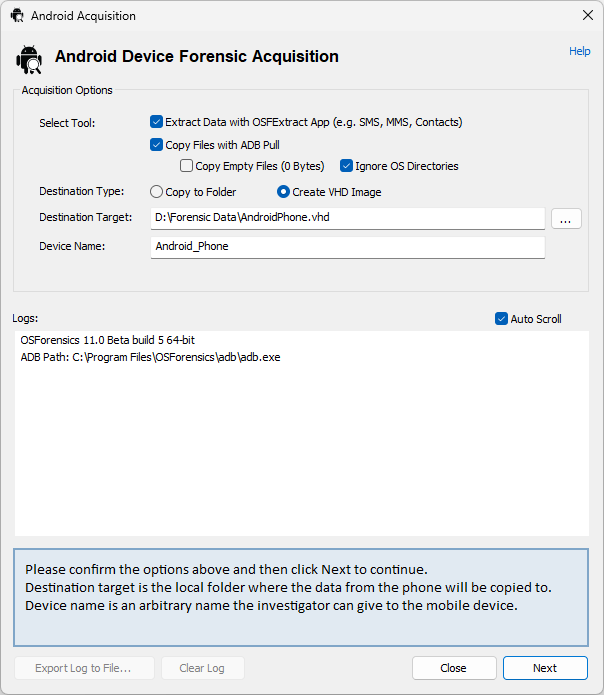
The user is also presented with a choice as to whether they would like the acquired data (be it via OSFExtract or ADB) is stored in a VHD image or in a directory. The user must supply a location and name for the VHD or a location for the directory in which they want the acquired data to be stored. The last piece of information required is the name by which to refer to the VHD or directory within the case at which point the "Next" button takes the user to the next stage of the wizard.
Here a list of all visible phones is presented to the user. It's important to note that just because a phone is connected to the PC it doesn't mean it's visible let alone accessible to OSForensics.
There are a few prerequisites for the phone to be accessible to OSForensics:
- The phone must be plugged into the PC. Not all USB ports are the same so if the phone never becomes visible, even after all the following steps, a different USB port may increase the likelihood of a connection.
- The phone must be in Developer Mode (which is usually done by finding the build number in the "About" section in settings and clicking it 10 or more times). At this point the phone should become visible even though it will not be accessible to OSForensics.
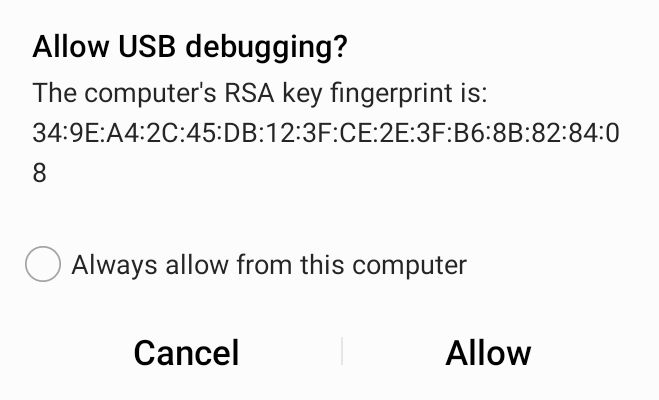
- USB debugging must be on in settings and the user must have accepted USB debugging in the dialog box that Android presents whenver USB debugging is needed. It may be necessary to turn off USB debugging and turn it back on for Android to present the dialog box.
Once the phone being analyzed becomes "Connected" it's possible to select it and use the "Start" button to actually acquire the forensic data.

At this point OSForensics will, depending on what the user has requested, copy all possible files using ADB and acquire messages, contacts and call logs using OSFExtract, placing the resulting data in the location previously specified.
The user may be presented with a number of dialog boxes on the phone through which OSFExtract asks for the permissions it needs to query the forensic data on the phone.
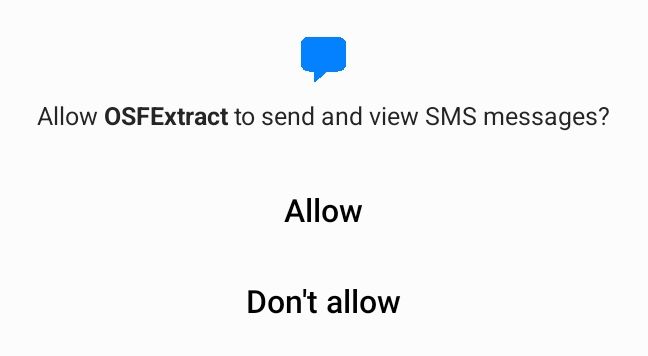
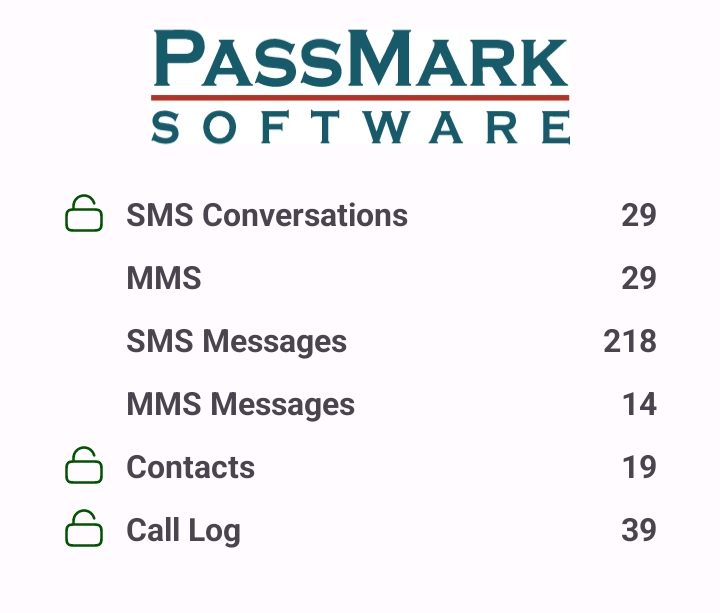
Each permission has as a corresponding lock icon on the OSFExtract screen for each of the types of data being collected:
- SMS/MMS messages and conversations.
- Contacts.
- Call Logs
If a permission has not been granted the corresponding lock will indicate locked and red and that type of data will not be collected and sent back to OSForensics.
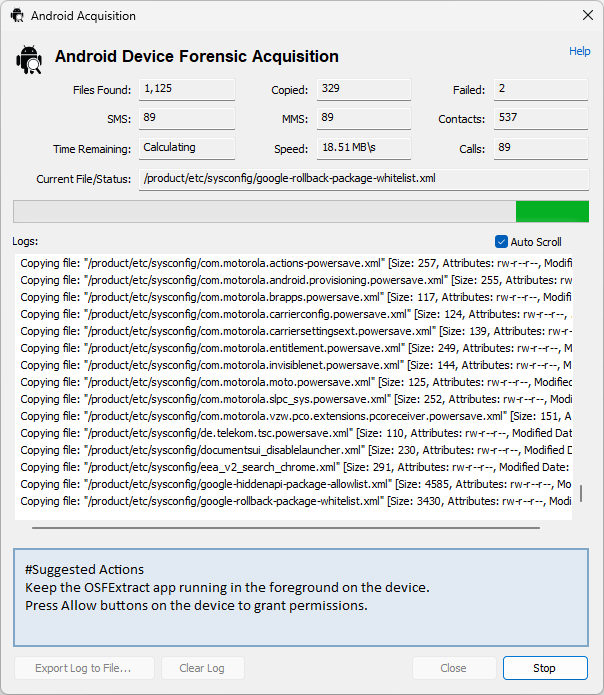
The wizard will display a dialog box with a summary of the progress of both the ADB copy and the OSFExtract acquisition.
Once the data copy has completed, the wizard will create an OSForensics device encapsulating the location of the data (be it a VHD or a directory) and add that device to the case. At this stage the user can use the "Next" button to proceed to the scanning stage where the newly acquired data data can be loaded into OSForensics for further analysis. The user is presented with a list of devices in the current case to load into OSForensics and analyze.
This stage of the wizard is can be reached by:
- Either proceeding through the wizard from the start, it being the stage that follows the completion of the ADB copy and OSFExtract data collection stage.
- Or with the "Load Existing" button.
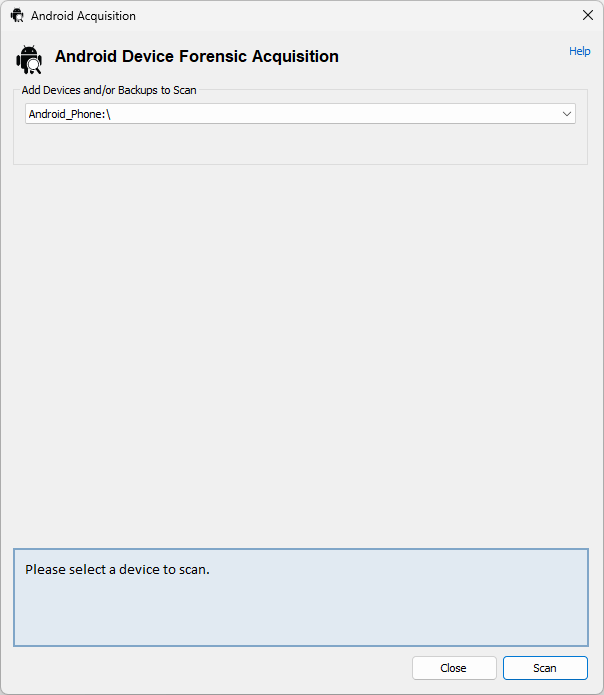
Selecting a device to scan and pressing the "Scan" button results in OSForensics searching through the device for Android artifacts:
- Call Log
- MMS/SMS Message
- Contacts
- Conversations
- Photos
Analyzing Android Forensic Data
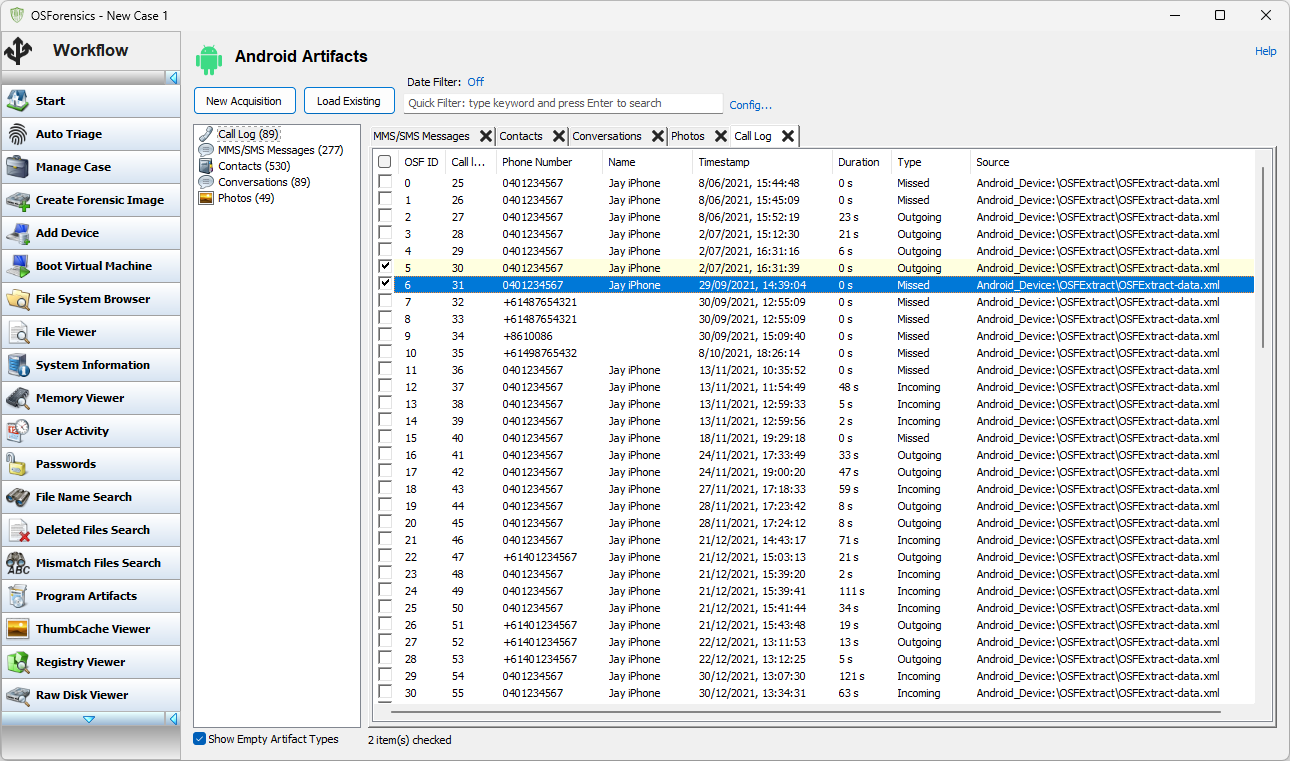
Once the Android forensic data has been scanned and loaded into OSForensics the five types of forensic data become available for viewing and searching. Call Log" presents the OSFExtracted call logs of the Android phone.
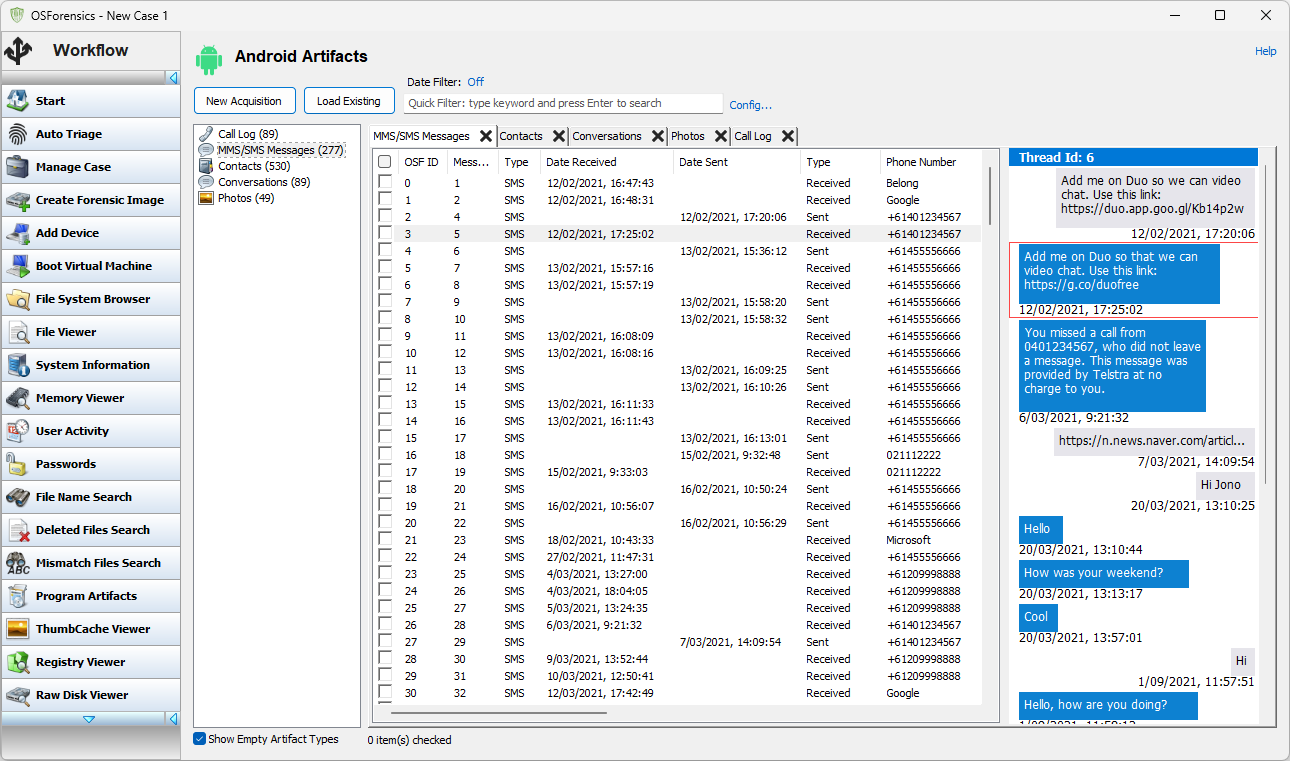
"MMS/SMS mesages" presents a view of all MMS and SMS messages extracted from the phone in chronological order (date sent for outbound messages, date received for inbound messages). Selecting a message will bring up a view of the reconstructed conversation that that message is part of, presented as a text conversation on a phone. The reconstructed conversation is presented from the point of view of the Android phone that it came from.
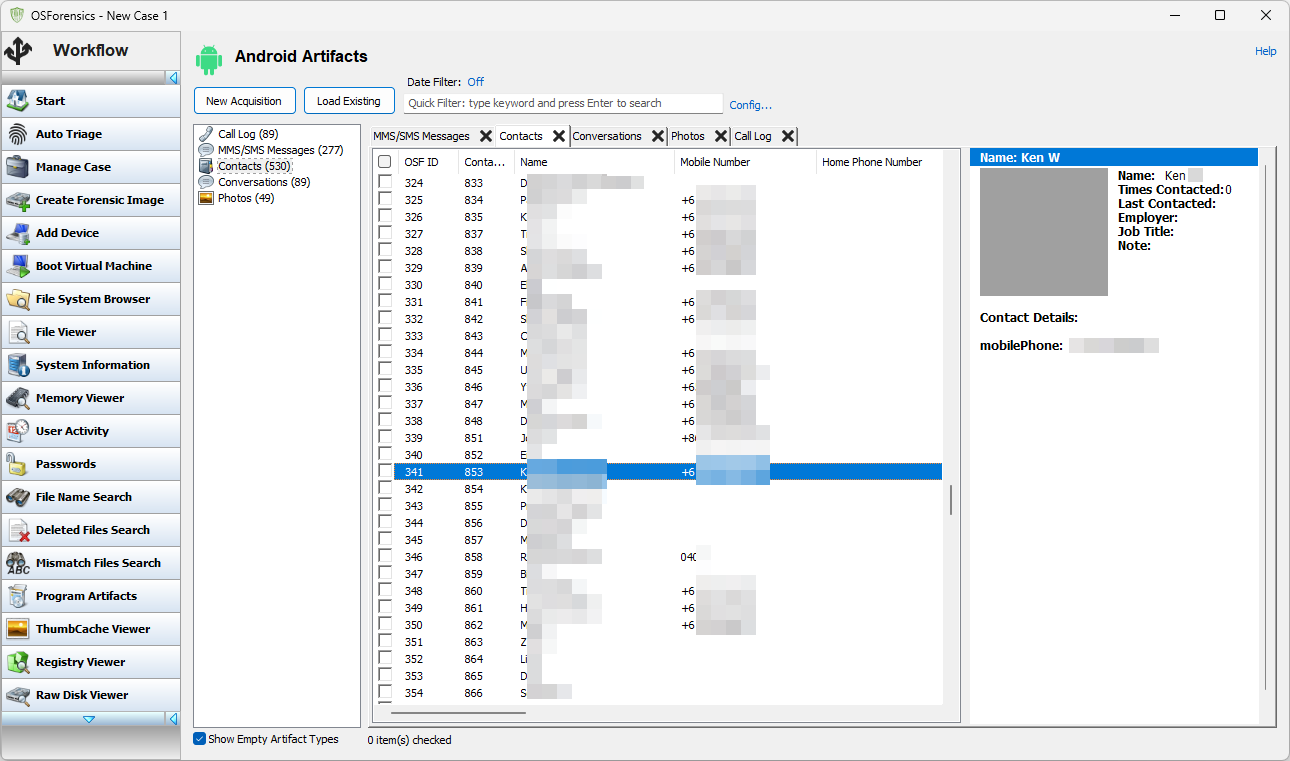
"Contacts" presents a view of all the extracted contacts from the phone. Contacts on Android can have a lot of subsidiary information. Clicking on an entry in the contact list brings up a details pane with additional details, if available.
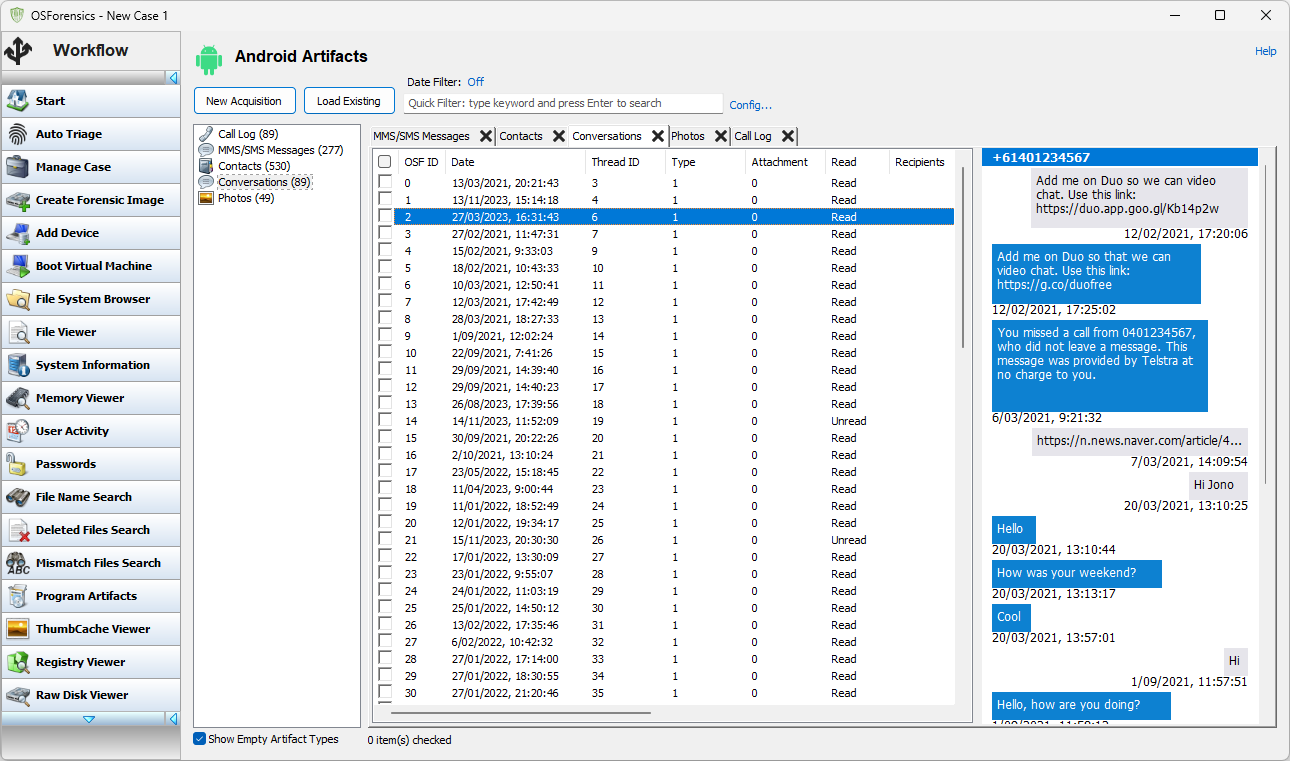
"Conversations" presents a view of all conversations extracted from the phone. Selecting a conversation brings up a view of the reconstructed conversation. Conversations are presented from the viewpoint of the Android phone being analyzed.
"Photos" presents a view of all photos extracted from the phone, be they part of an MMS message or just a photo that was taken on the Android phone and stored in one of the public directories.

Copyright © 2024 PassMark™ Software


