Auto Triage
Introduced in version 5.2 of OSForensics, the Auto Triage feature provides users with a fully automated,
simple solution for Digital Evidence Triage (DET). Auto Triage enables all levels of users to
perform DET with incredible speed and ease of use. The purpose of DET is to quickly identify
and capture basic system information, user activity and other files and artifacts of interest
from a digital media source.
Although useful for all levels of users, Auto Triage was designed for first responders and other
"entry-level" users of OSForensics who may lack traditional forensics training and/or experience in
digital evidence collection and processing. This means that non-forensics personnel can now acquire
much of the same evidence traditionally recovered from a full forensic examination, quickly and efficiently,
and with a single click of the mouse.
In addition to recovering files and artifacts of interest, Auto Triage will also automatically generate an initial
case report in HTML and PDF formats. These reports are automatically saved to the case directory on the OSForensics
USB device by default. Users can acquire a list of all running processes, create a Memory Image, collect all web and
user activity, passwords, user accounts, deleted files, system information, detect the presence of BitLocker Encryption
and more. Auto Triage will also capture a screeshot of the target system and create a searchable spreadsheet of all files on
the file system, including the file paths and date/time stamps. Auto Triage can literally be executed with a single click of
the mouse. Collection times will vary, but typically will take just a few minutes to complete if the "Memory Dump" option
is not selected.
Step 1. Launching Auto Triage
Open the OSForensics application and click on the "Auto Triage" icon located on the Start screen. You can also click the "Auto Triage" module from the Workflow as shown below.
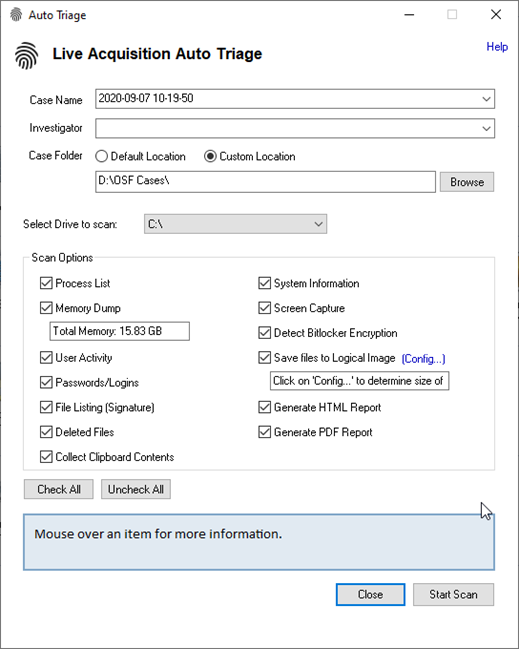
Step 2. Review Default Settings
The Auto Triage window will appear. Review the settings and make any necessary changes to the default settings prior to initiating the scan.

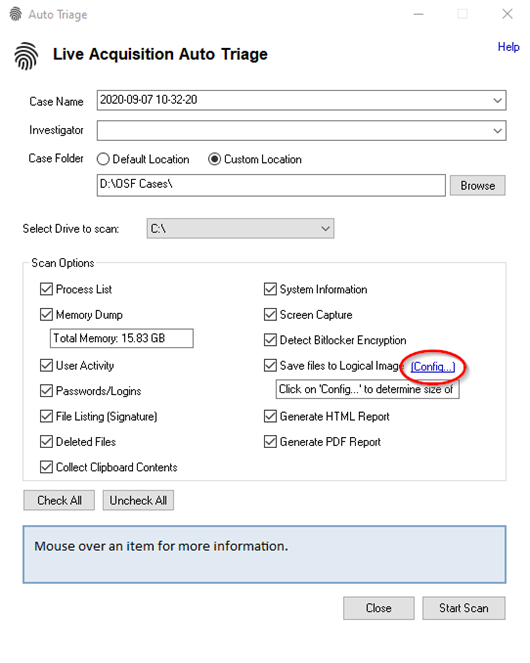
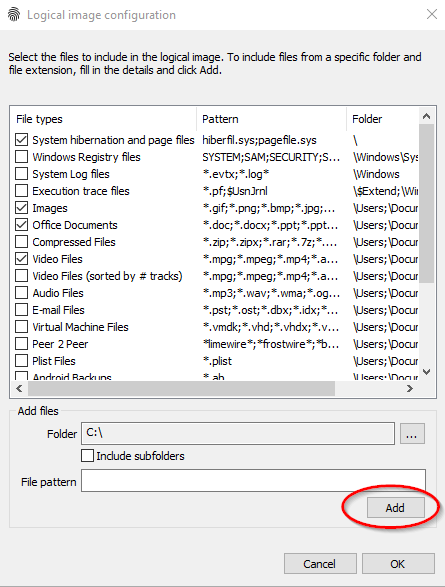
Step 2.1 Review Config Options
Clicking on the “Config” link will open a new dialog window allowing the user to select specific files, folders and directories to be exported into a Logical Image file…
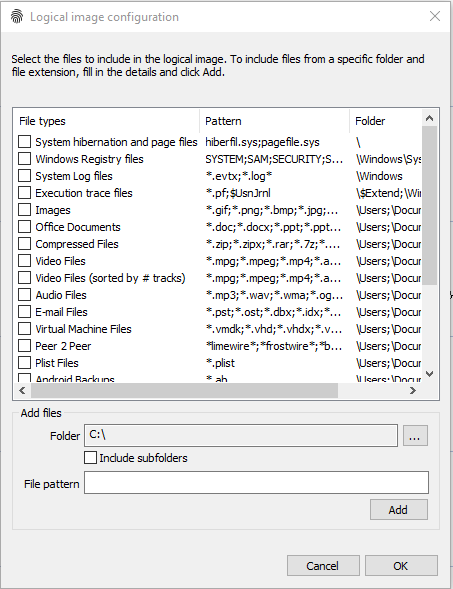
Step 2.2 Review Config Options
Users can choose from the available presets or create their own custom file type preset. This is a great feature to use for logically imaging a user account, or for exporting all media files from a computer with just a few clicks of the mouse.
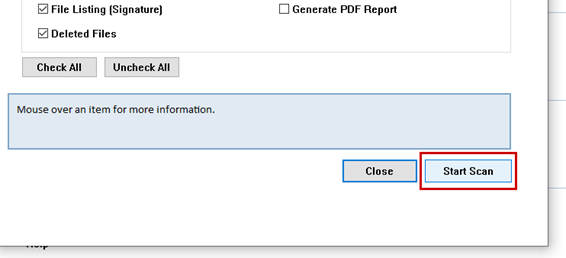
Step 3. Start Scan
After confirming that the case folder location, drive, and scanning options are correct, simply click the "Start Scan" button to start the Auto Triage scan.
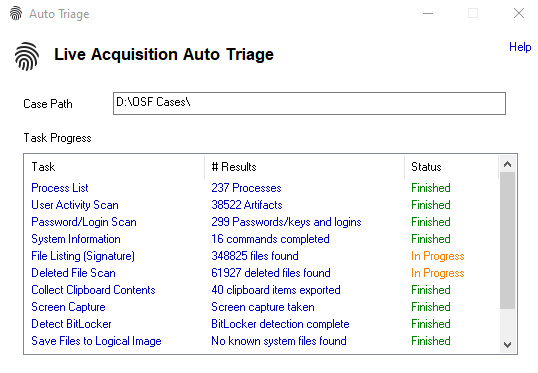
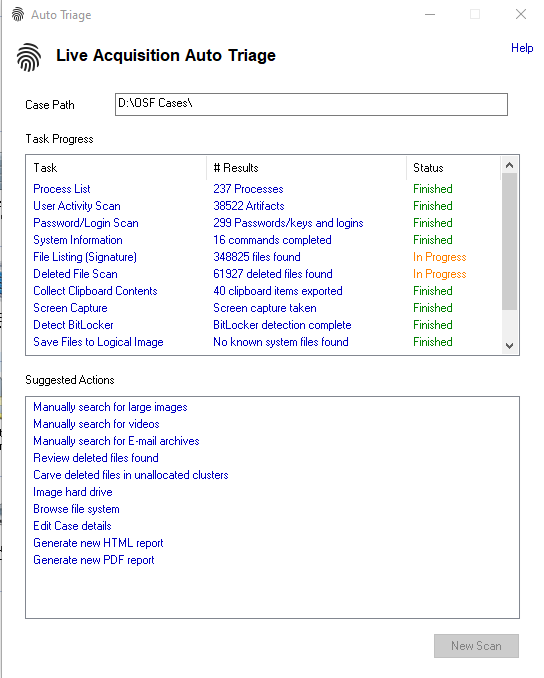
Step 4. Review Results
You will see the status of each scan in real-time under the "Status" column. The process is complete when all scans show "Finished". To review results, simply click on the hyperlinks to review the data in the main OSForensics' interface.
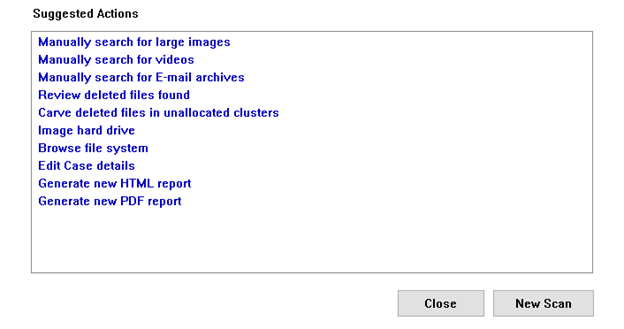
Step 5. Choose Additional Actions
In addition to generating a new report, users have the ability to perform additional actions after the initial scan. These additional actions can be seen in the image below.
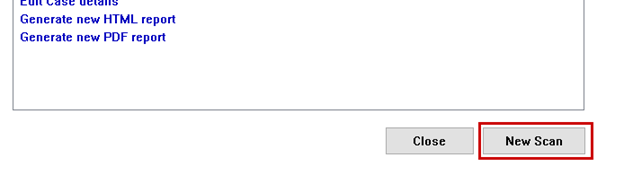
Step 6. New Scan
Closing the Auto Triage window will not reset/delete the results. Only closing the OSForensics application or running a secondary scan will do this. This does NOT however effect any generated reports. If you need to perform an additional scan either on the same drive or a different one, you will simply choose the "New Scan" button as shown below, and repeat steps 2-5.
Configurable Options
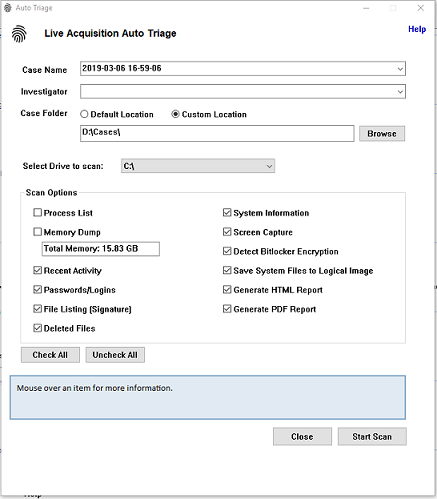
A case name will automatically be assigned but can be changed by the user. The default naming convention uses the current date/time of the system clock and is displayed as YEAR-MONTH-DAY HOUR-MINUTE-SECOND. The user can enter their name in the "Investigator" field and choose a custom location to store the case data or simply keep the default setting. The C:\ drive is set as the default drive, as it will most likely be the Operating System drive which will contain the majority of user activity and other artifacts of interest.

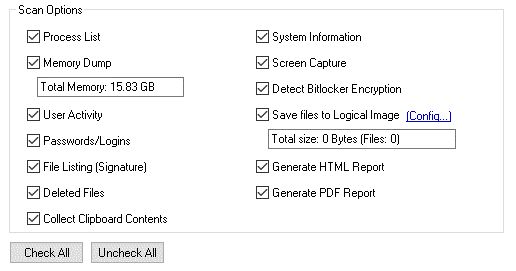
When running OSF from a USB, all options are checkmarked by default. Auto Triage will display the total amount of RAM memory on the system prior to
initiating the scan as shown in the image below.
Creating a full Memory Dump file can be a time-consuming process depending on several factors. The total amount (size) of RAM, in addition to the type of USB device
and port being used, are the major contributing factors in determining how long this operation will take. If you do decide to collect a Memory Dump, please
make sure you have sufficient space on your USB device as the dump file will be basically the same size as the total memory that is displayed. For example, a computer with
16GB of RAM would generate a 16GB Memory Dump file. It is highly advised to utilize USB 3.0 devices and ports when collecting a Memory Dump for optimal speeds.
Reviewing Results
Once completed, you can click on the various scans to review the results within the main OSForensics interface or take further action by choosing from several additional
options in the "Suggested Actions" window. If review will be conducted at a later date and time by viewing the generated reports, you can simply shutdown
OSForensics and safely eject your USB device at this point.
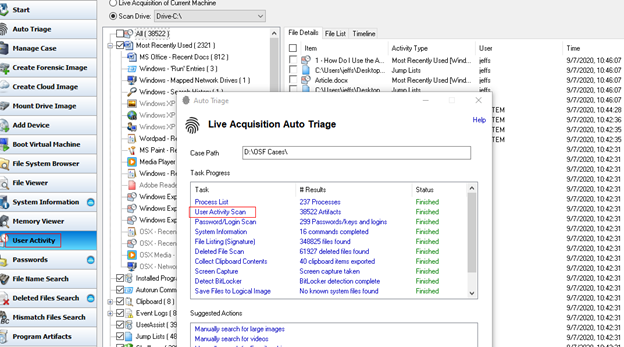
In the example shown below, you can see that after the user clicked on the "Recent Activity Scan" link in the Auto Triage window, the results are displayed in the main OSForensics
interface for review. Users can now review all results from the initial scan by clicking on the individual blue hyperlinks in the Auto Triage window.
During review, users can add files of interest to their case via checkmarking and right-click options, then generate a new report by clicking the "Generate new HTML/PDF report"
option from the list of additional actions. Newly generated reports do not overwrite the initial reports. On single-monitor systems, you may wish to minimize the Auto Triage window while reviewing results.
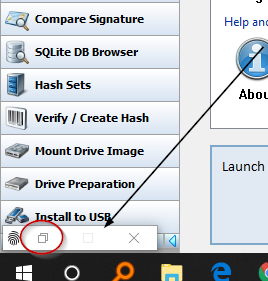
To minimize, simply click the Minimize button on the window as shown below.

To restore the window, simply locate the minimized window in the lower left-hand corner of the screen and select the maximize button as displayed below.